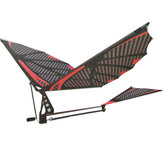
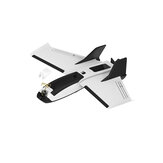
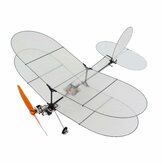
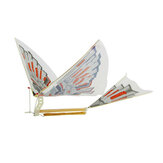
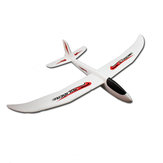
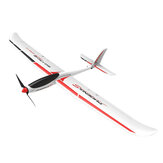
Mainan Pesawat Listrik Perakitan Mudah DIY Pesawat Terbang Luar Ruangan
US$11.99
Sebagian dari ulasan telah diterjemahkan secara otomatis.
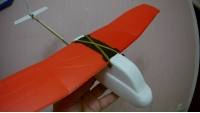
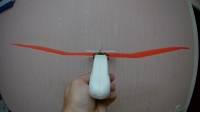
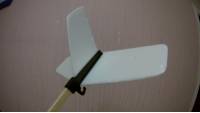
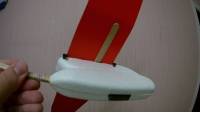
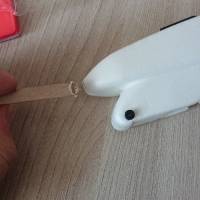
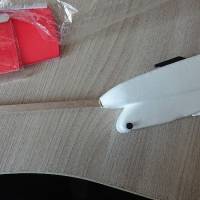
Упаковка никакая потому приехал травмированый (возместили). Отличный самолетик в качестве первой модели детям. Крыло тоненькое, но профилированное, крепится по взрослому на резинках. Стабилизатор и киль на самоклейке, ставятся на пластиковую деталь - держатся отлично корпус из очень твердого пенопласта имеет внутри полости - можно разместить электронику. Крыло из какой-то пены с тонкой коркой ламината. Самолетик отлично сбалансирован и при броске под 45 градусов отлично ложится в планирование кругами (не смотря на помятое крыло) На брюхе крюк для леера, за который можно цеплять и отлично он стартует с резинки.

Товар пришёл сломанный
nice and easy
orks well
works well
merce arrivata un po' danneggiata per il trasporto
merce arrivata
Leider war ein Teil gebrochen, keine Angaben wie man Heckflügel montiert und lange Lieferung, Februar bestellt 16. Juni erst erhalten.
Got it a little broken; easy fix with some glue and duct tape. Rear stabilizer is angled too much by default - sand paper and glue fix.
I will ask for a refund as the instructions say: Instruction: 1.With charger box,put 2XAA battery (not included) into the charger box ,charging for 1 min (new battery),then put the battery out. 2.Turn on the airplane switch ,when the propeller is turning ,throw the plane Against the wind direction 3.The airplane will rotate for more than 2 min and 30 meters height. 4.Note :Don’t use rechargeable battery for charging (that will damage the motor and charger box) BUT THERE IS NO MOTOR TO CHARGE!!!!!!!!!!!! REFUND PLEASE
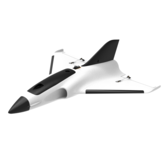
ZOHD Delta Strike 600mm Rentang Sayap EPP FPV 50mm EDF Jet FPV Terbang Wing RC Pesawat KIT / PNP
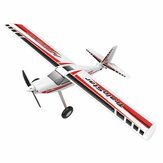
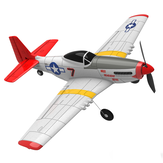
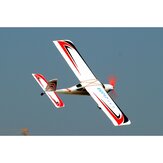
Volantex TrainStar Ascent 747-8 1400mm Rentang Sayap EPO Pelatih Pesawat RC Kit/PNP


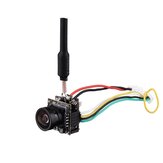
LSRC LS-MIN Mini WiFi FPV dengan Kamera 4K/1080P HD Altitude Hold Mode Lipat RC Drone Quadcopter RTF

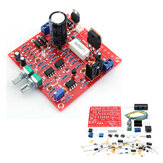
Modul Catu Daya Terregulasi DC 0-30V 2mA - 3A yang Dapat Disesuaikan Kit DIY
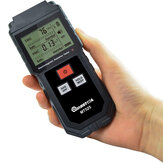
MUSTOOL MT525 Alat Pengukur Radiasi Elektromagnetik Medan Listrik & Medan Magnetik
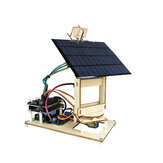
Peralatan Pelacakan Solar Cerdas Pemantau Proyek Kit DIY Teknologi untuk Arduino
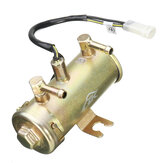
Pompa Bahan Bakar Diesel Listrik Gaya Atas Merah Facet 12V Kit Universal
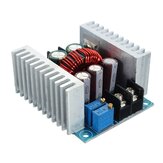
Modul Step Down Buck Konverter Adjustable Konstan Arus 20A 300W 1,2-36V Ke 6-40V


Modul Pengendali Motor Jembatan H BTS7960B 5V 43A Semiconductor

Geekcreit® 12V 6A DIY Peralatan Pendingin Radiator Elektronik Semikonduktor Kulkas
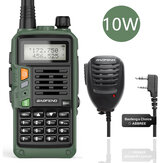
Kit Produksi Walkie-talkie Elektronik DIY Kit Starter Kit Pelatihan Eksperimen Las

2PCS MECO 3.7v 4000mAh Baterai Li-ion 18650 yang Dilindungi dapat Diisi Ulang